Staking out points. pt. 1
19.12.2023Staking out points is the process of transferring coordinates of specific objects or boundaries, which are identified on a plan or map, directly to a physical location. This process involves marking these points on the ground, ensuring accurate alignment with the mapped coordinates.
Main stages of staking out points
- Preparation: Before going out to the locality, it is necessary to prepare all the necessary tools (for example, a theodolite, tape measure, GNSS RTK receiver) and documentation (maps, plans, diagrams).
- Orientation on the territory: On the territory, specialists first orient themselves using known landmarks and geodetic points.
- Equipment setup: Then they install and configure the geodetic equipment. This can be, for example, a rover GNSS RTK receiver set up on a tripod, or on an axis.
- Point staking out: Using high-precision equipment, specialists accurately determine the position of the necessary points on the locality, often using coordinates obtained from maps or plans.
- Point marking: As soon as a point is found, it is marked using pegs, paint, or other special markers.
- Verification and documentation: After staking out all the necessary points, specialists check their accuracy and record the results in the documentation.
This process requires precision and attention to detail, as any mistakes can lead to serious problems in the future, especially in construction or land management.
What is needed for staking out points
For staking out points, you will need the following equipment and materials:
Geodetic instrument:
- GNSS RTK receiver for determining points with high precision, geodetic software, subscription to an RTK correction network, and available Internet.
- Theodolite or total station for angular and distance measurements if traditional methods are used.
- Level for determining elevation marks.
Auxiliary equipment:
- Tripods for setting up equipment.
- Rods, boundary signs, or stakes for fixing points on the terrain.
- Measuring tapes or tapes for measuring distances.
- Boots for setting up equipment on soft soils.
Reference materials:
- Maps, plans, or drone pictures with marked points.
- Documentation indicating the exact coordinates of the points.
Marking materials:
- Paint for marking or marking sprays.
- Flags for temporary marking.
Communication means:
- Radios or mobile phones for communication between team members.
- External modem or cellular signal booster for areas with weak mobile network coverage.
Additional tools and accessories:
- Compass for determining directions.
- Binoculars for visual observation.
- Tablet, smartphone, or laptop for working with digital maps and documentation.
Personal equipment:
- Special clothing and protective footwear for working in field conditions.
- Protective helmets, depending on the safety requirements at the site.
Documentation:
- Work logbooks for recording the results of staking out points.
- Instructions and methodological recommendations for conducting work.
Transport:
- A car or other vehicle for transporting equipment and the team to the locality.
Setting up a GNSS RTK receiver for staking out points
Modern GNSS RTK receivers are compact in size and do not require any preliminary setup. RTK receivers have one button and several indicators that can display the receiver operating mode, battery status, GNSS status, presence of a fixed solution, and so on. The user can see extended information in the geodetic program. It is sufficient to ensure that the receiver is turned on, has enough battery charge, and that the necessary accessories are available at hand. After turning on, the device begins to search for satellites and automatically connects to the controller or Android device. If your GNSS receiver has a SIM card slot with internal NTRIP to receive corrections, you need to check the Internet network availability on this SIM card, so the receiver can connect to the RTK provider and receive corrections.
Setting up a geodetic software for staking out points
If you are using geodetic software such as SurPad, SurvX, SurPro, SurvStar, X-Survey, follow our recommendations for setting up the software. All these programs have similar principles of settings and operation.
Main steps for setting up an RTK receiver with geodetic software:
- Setting up the receiver's connection with the Android OS
Pair the GNSS RTK receiver in the Android device settings. To do this, go to the main menu "Settings" - "Connections" - "Bluetooth" and select "Add new device".
- Setting up the receiver's connection in the geodetic software
Open the geodetic software, enter the menu "Receiver" - "Connection". Select your device brand from the list of manufacturers, or choose "Other" if your brand is not listed.
Select "Device Type" - "RTK (NMEA 0183)".
Choose "Communication Mode" - "Bluetooth".
Click "Search" and select your device from the list.
Click "Connect".
After a successful connection, you can enter the "Debug" menu to see the NMEA message streams sent by the receiver. If there is data, it means everything is fine.
- Setting up receiving corrections from the NTRIP network
To set up NTRIP, go to the menu "Receiver" - "Rover". This menu is only available after a successful connection to the receiver. Select "Add" a new profile, then enter the credentials for access to the correction server. After creating a new profile, select it and press "OK".
- Setting up the Mounting Point
After setting up NTRIP, go to the menu "Base Station" and select "Get Access Point". After a few seconds, when the list is received, the program will notify you. In the "Mount Point" menu, you need to choose the station to which you will be connecting. If you don't know which station to choose, contact your RTK correction provider. After selecting the "Mount Point", press the "Start" button to establish a connection with the server and start receiving corrections for your RTK receiver. A message about successful connection to the server will appear, and a blue bar will fill up from left to right. Click "Apply" to finish the setup.
- Checking the operation
After completing all the settings, return to the main menu of the program, where at the top of the screen you can see the number of used and visible satellites, active connection to the GNSS device, as well as the RTK status and the age of corrections. The statuses can be SINGLE, DGNSS, FLOAT, FIXED. If you see FIXED, it means you have done everything correctly and can start working. When exiting the program, it automatically disconnects from the GNSS receiver and the correction server.
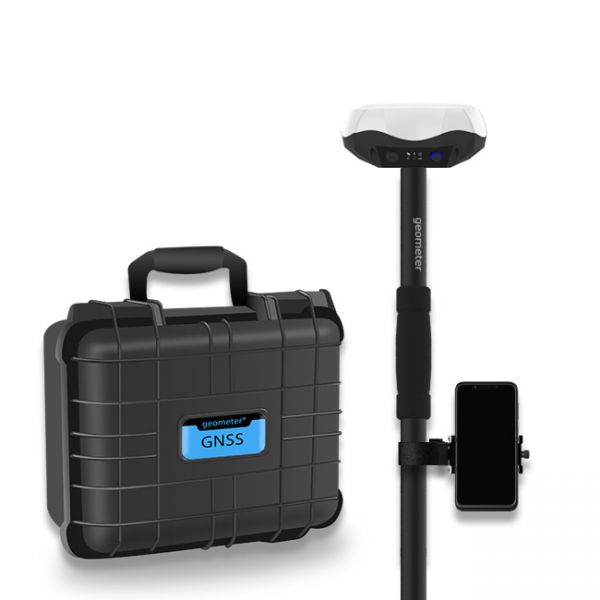
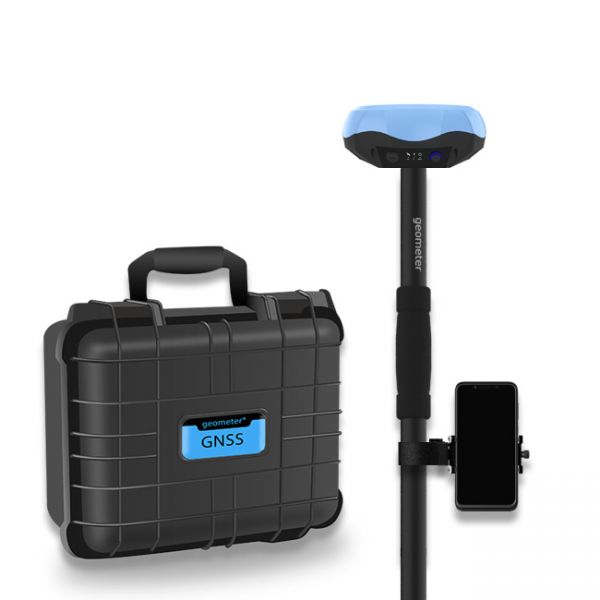
Multi-frequency GNSS GM PRO L KIT. The receiver has 965 channels, receives a signal from satellite systems GPS, GLONASS, GALILEO, BEIDOU, QZSS, IRNSS. Receiver works with L1, L2, L5 bands. The receiver is designed for performing of surveying works, such as: stakeout, determination of the exact boundaries of sites, land surveying, field area measurement, stake out points, stake out lines, GIS survey, stakeout roads, cross-section measurement, slope staking, power line survey, height control and other functions. The kit comes in a sealed shockproof box.
Special kit for positioning with centimeter RTK accuracy and obtaining high-precision coordinates. The set consists of a dual-frequency GNSS receiver GM PRO model U, rugged smartphone with geodetic software installed.
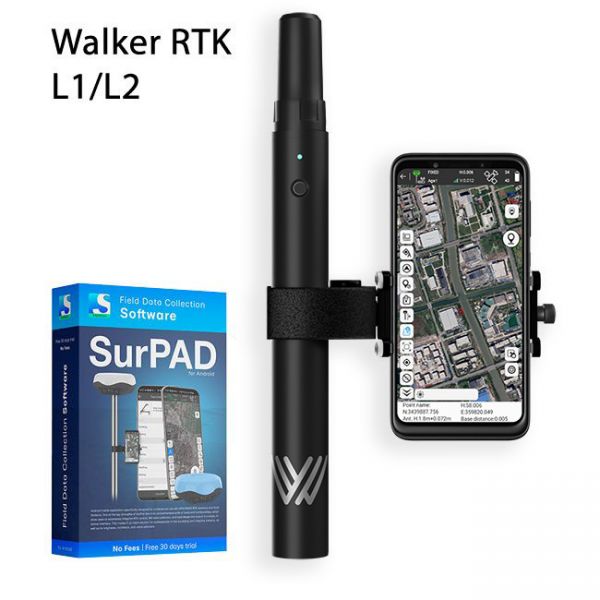
Full set of equipment Walker RTK with professional surveying mobile application SurPAD 4.2 is the ideal kit for surveying, as well as for 3D surveying manholes, sidewalks, curbs, steps, landscaping, mapping trenches, and underground utilities such as electricity, gas, water, and sewer lines


